
Before you publish
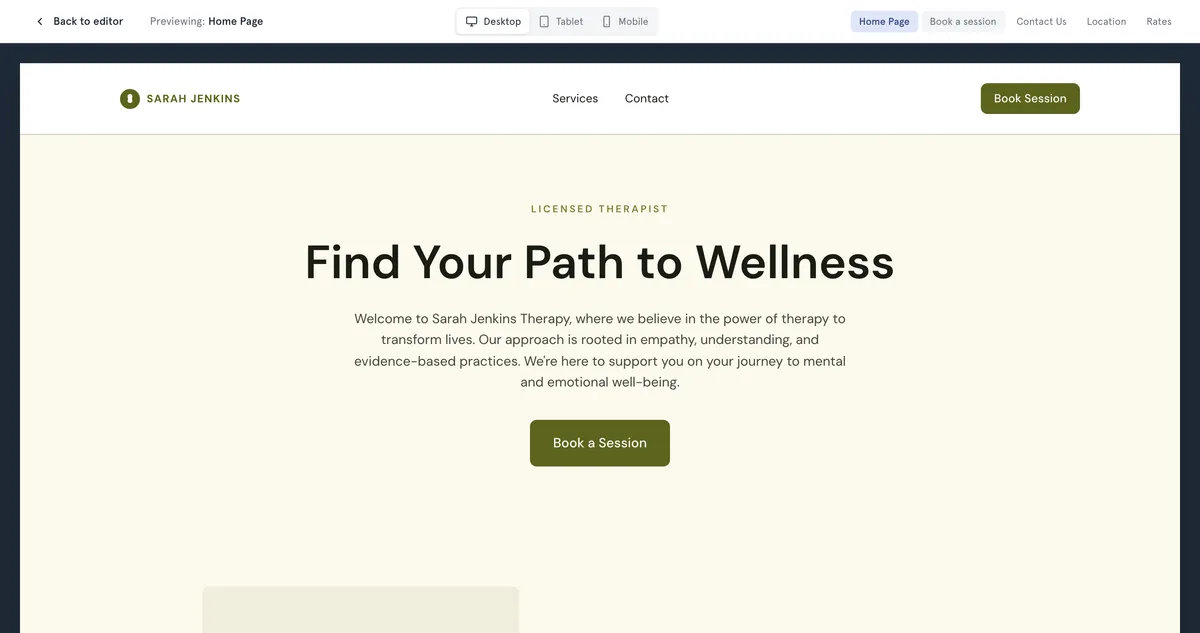
Work through these in the builder. Use Preview to see your pages without the editing tools.
Branding
- Your logo is uploaded in Settings → Website Info → Website Logo, and looks sharp in the header.
- Your colours, font and button corners in Theme suit your practice.
- Your favicon is set in Settings → Advanced. See Add a favicon and custom code to your website.
Words and details
- Website Title and Website Description in Settings → Website Info describe your practice.
- The top section of your home page says clearly what you do and who you help.
- Your contact details in Settings → Contact & Social are right.
- Each page reads well, with no typos.
Services and booking
- The services you want clients to book are published and public. The booking page only lists those. See Create a service clients can book.
- They’re in the order you want. See Choose the order clients see your services in.
- Your availability is set, so there are times to book. See Set your working hours so clients can book.
Mobile
- In Preview, choose Mobile and go through every page. Text is easy to read and buttons are easy to tap. See Preview your website on desktop, tablet and mobile.
Privacy
- Your privacy policy under Settings → Privacy Settings → Privacy Policy Content has your practice’s real details.
- The Cookie Banner switch is on if you need one, and its message suits you.
Domain
- If you’re using your own domain, it’s verified and set as your default with Make default. See Connect your own domain to your website.
Publish
Select Publish. When you see Congratulations and Your site is published and live online, select View site. For the steps, see Build and publish your practice website.
Just after you publish
Look at it as a visitor Open your website in a private or incognito browser window, on your computer and on your phone.
Make a test booking Go to your booking page and book a session as a client would, using a personal email address. If you have a free service, use that. It’s a real booking, so it appears with your other appointments. Cancel it afterwards. See Book, reschedule or cancel an appointment.
Send a test message Fill in your contact page’s form with your name and a personal email address — not the one you sign in to MyWellOps with — and send it. You should get an email about it. The message also creates a client record and a message thread in MyWellOps, so tidy up the test client afterwards.
Good to know
- Settings such as your contact details, favicon and custom code only go live when you publish. If you change them later, publish again.
- Before a big change, you can always go back: see Restore an earlier version of your website.
- Share your website address in your email signature and social profiles once it’s live.